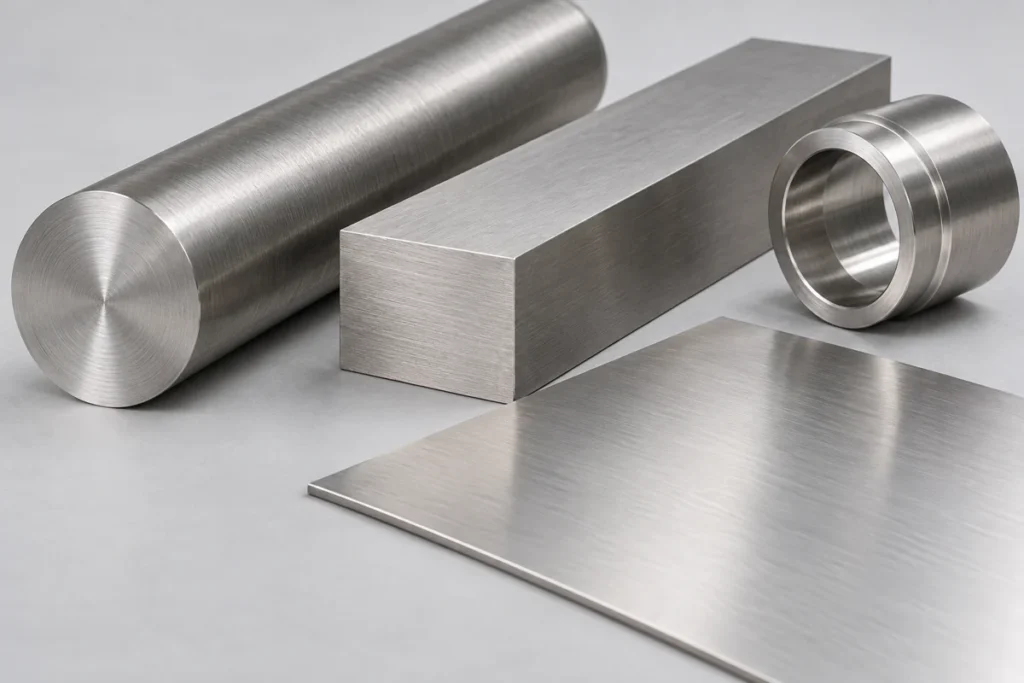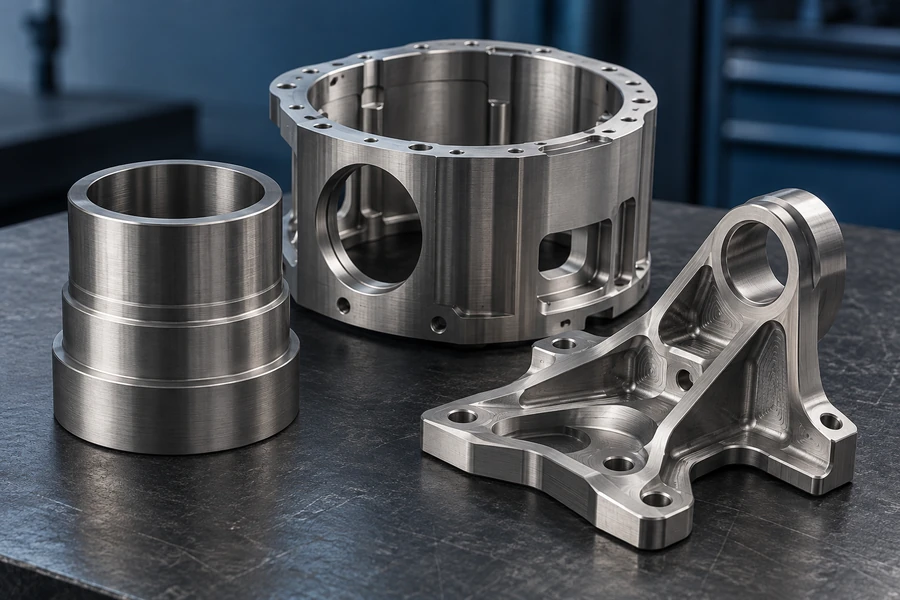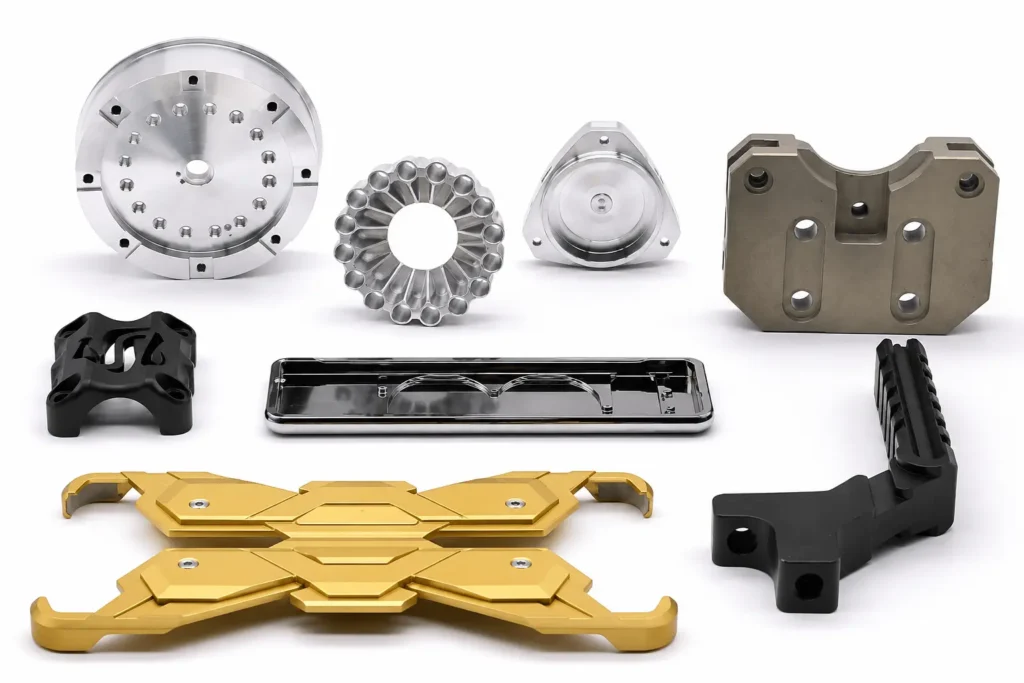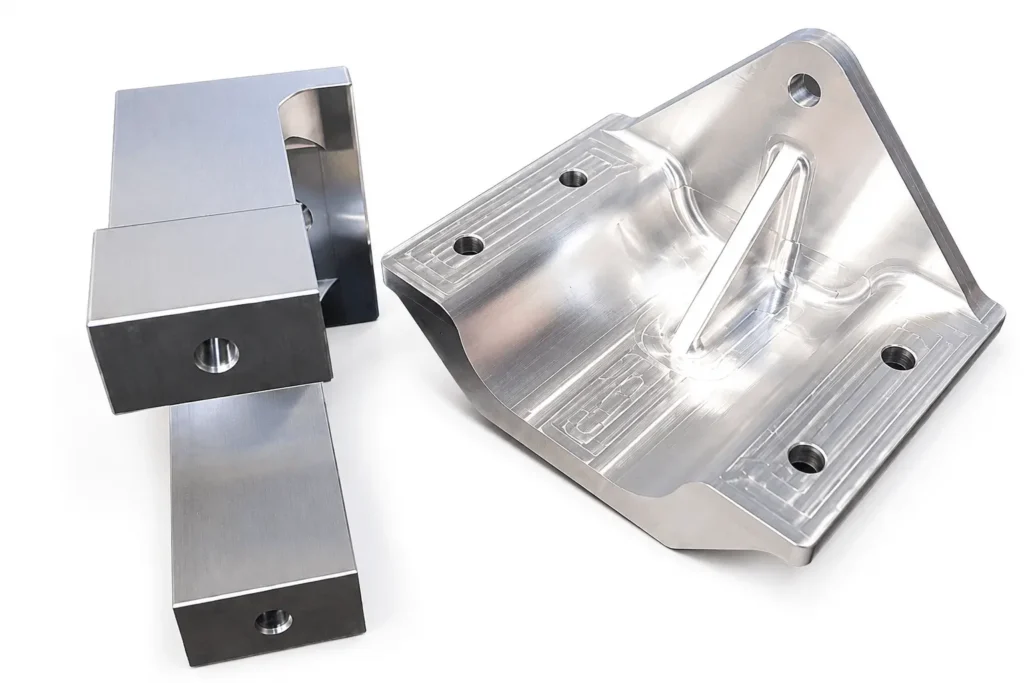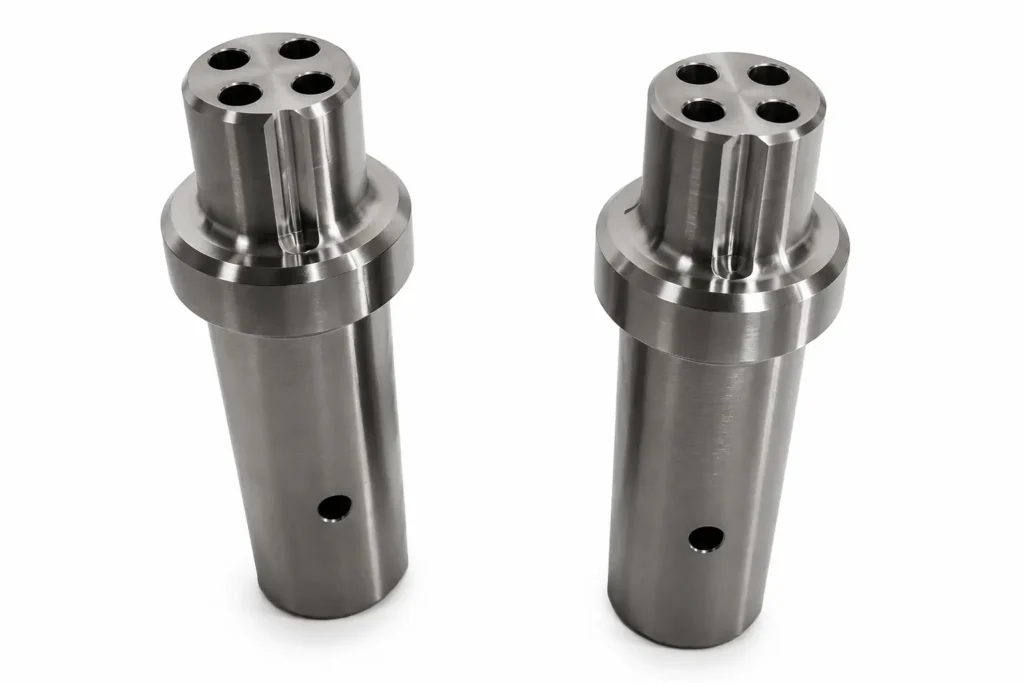
You’ll find stainless steel everywhere, from kitchen utensils and home appliances to medical instruments and aircraft components. Over time, though, it can lose its shine. How can you make it look new again? Polishing can help restore its appearance. In this guide, you’ll learn how to polish stainless steel and what you need at each step.
What Is Stainless Steel Polishing?
Stainless steel polishing uses abrasives and compounds to refine the surface. You can reduce shallow scratches, smooth machining marks, and create a consistent appearance. A mirror polish produces clear reflections, but brightness alone does not mean deeper defects or waviness have disappeared.
Cleaning removes dirt, oil, and residue without correcting scratches in the metal. Grinding and sanding remove material to reduce defects. Polishing refines finer marks and develops the final sheen. These tasks overlap in workshop terminology, so specify the result you need rather than relying on the word “polished.”
What Finishes Can You Achieve?
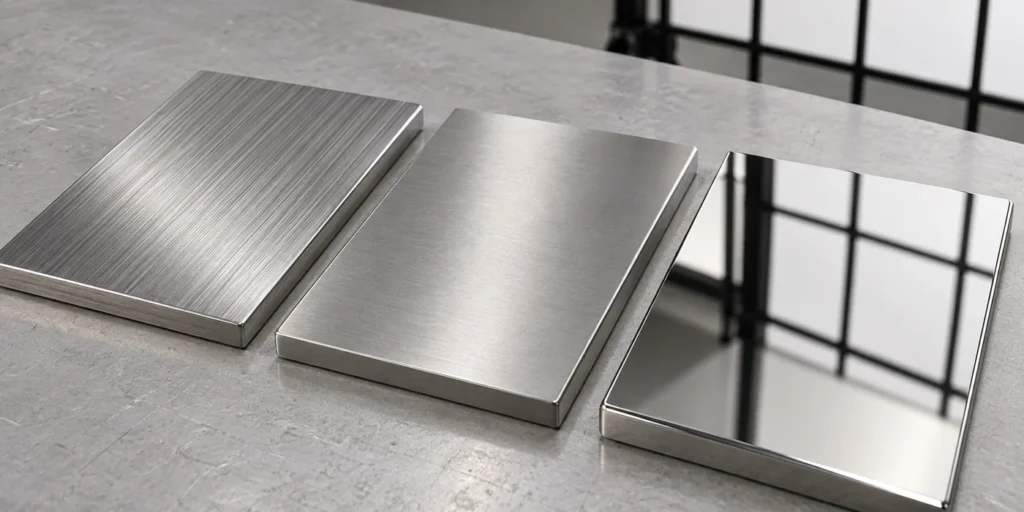
Compare surface finish options according to appearance and function. Brushed and satin terminology can overlap between suppliers; use an approved sample to define your target.
| Finish | Appearance and Typical Need | Main Processing Concern |
| Brushed | Parallel lines; suitable when you want a defined grain | Match direction and texture across visible faces |
| Satin | Soft sheen; useful for a subtle appearance | Keep gloss and texture uniform |
| Mirror | Clear reflections; chosen for bright decorative surfaces | Control residual scratches, haze, and distortion |
A low roughness reading alone cannot establish mirror quality. Check visual appearance separately from any functional Ra requirement.
For replacement parts or assemblies, compare adjacent faces together. Two individually acceptable finishes can still look different when placed side by side. Agree the grain direction, viewing orientation, and sample before processing a batch, especially where a repaired face must match untouched material.
Tools and Materials for Polishing Stainless Steel
When deciding what to use to polish stainless steel, match the tools to your part’s condition, shape, and required finish.
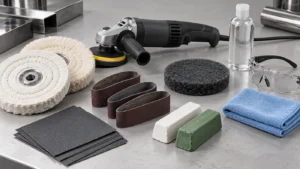
- Cleaning supplies: A compatible degreaser or mild detergent, clean water where required, lint-free cloths, and a soft brush for recesses.
- Abrasives: Sheets for controlled hand work, belts or discs for accessible surfaces, and nonwoven products for blending and texture.
- Polishing equipment: A suitable variable-speed machine, compatible wheels, and stainless steel compounds. Select compounds by application, not color alone.
- Workholding and protection: Soft jaws or fixtures, shields for critical features, suitable eye and face protection, extraction, and hearing protection.
Keep stainless steel abrasives separate from carbon steel tooling to prevent iron contamination. Follow equipment instructions for wheel speed limits and precautions around rotating parts. Tape can protect adjacent surfaces from incidental contact, but it cannot stop a powered abrasive from removing metal.
How to Polish Stainless Steel Step by Step
The best way to polish stainless steel depends on the starting surface. Use each stage to remove the previous defects, then inspect before continuing.
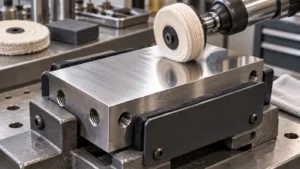
Step 1 Inspect the Surface and Set Your Target
Identify machining marks, scratches, pits, and existing finishes under good lighting. Confirm the material and condition; review 304 stainless steel properties when that grade is specified. Mark visible surfaces and features that must retain their dimensions. If removing deep damage would exceed your material allowance, resolve it before sanding.
Step 2 Clean and Protect the Part
Remove cutting fluid, adhesive, and dirt with a compatible cleaner. Rinse if required and dry. Secure the part without distortion and protect threads, sealing faces, and defined edges. Start only when the surface is clean, the workholding is stable, and the tool can reach its target safely.
Step 3 Sand Stainless Steel to Remove Defects
Trial the least aggressive abrasive likely to work on a sample or inconspicuous area. If it does not reduce the original defect, select a coarser option. Keep passes overlapping and the tool moving; use suitable backing on flat faces. Continue until the damage is replaced by a consistent scratch pattern, without sacrificing geometry.
Abrasive selection reference: These supplier examples describe separate tasks, not a compulsory sequence. Confirm the grading system: FEPA P grades, unprefixed grit numbers, and proprietary grades are not automatically equivalent.
| Task | Supplier Guidance | Selection Rule |
| Set directional grain | 3M lists a P120 belt option. [1] | Trial against the target sample |
| Produce a No. 4 type finish | Norton describes 120–320 grit final abrasives, depending on application. [2] | A range, not a fixed progression or Ra |
| Produce a No. 7 reflective finish | Norton gives a 320-grit preparation and buffing example. [2] | Does not define a No. 8 mirror specification |
| Repair mirror polish | Trial a stainless-compatible fine compound | General repair approach; sand only when necessary |
Your starting abrasive is determined by defect severity, not the desired shine alone. Do not apply a coarse preparation step to an already sound polished surface simply because it appears in another process route.
Step 4 Refine and Inspect Between Stages
Move to finer abrasives, removing residue between changes. Where geometry allows, change sanding direction during intermediate stages to distinguish old marks from new ones. Inspect under angled light. Proceed when earlier scratches disappear; the final directional pass must follow the specified grain. Persistent coarse lines require a suitable earlier stage, not prolonged fine polishing.
Step 5 Develop the Final Finish
For brushed surfaces, use consistent directional passes. For satin, use fine or nonwoven abrasives to match the agreed texture. To polish stainless steel to a mirror finish, follow fine preparation with cutting and finishing wheel–compound combinations selected for the task.
Use controlled pressure rather than forcing a loaded or worn wheel to cut. Keep contact moving across the intended area, and check thin sections for distortion. If the surface starts developing heat tint or uneven reflections, stop and investigate before continuing. A brighter patch is not evidence that the entire face is ready for final finishing.
When buffing stainless steel, use separate wheels for different compound grades and clean between stages. A cutting combination refines residual sanding marks; a finer combination develops clarity. Remove residue before judging the result because it can conceal fine defects. Polishing a wavy surface may increase its shine without correcting the waviness.
Step 6 Clean and Verify the Finished Part
Remove compound from faces, holes, and grooves. Compare the dry surface with your sample under consistent lighting. Measure critical features after finishing and verify specified roughness using the agreed method. Check engineering drawing symbols and notes for applicable requirements. Protect accepted parts with non-abrasive packaging to prevent fresh handling damage.
Example Acceptance Requirements
For a brushed 304 cover, you could agree the following requirements. This is an illustrative buyer–supplier example, not a universal standard or a completed YD Rapid project. Euro Inox recommends comparative samples because grit descriptions and Ra alone cannot fully define appearance. [3]
- Area and grain: Finish exterior face A; grain parallel to the long edge; match approved sample SS-A, revision 01.
- Viewing conditions: Example only—clean, dry part, diffuse white light at 800–1,000 lux, approximately 500 mm viewing distance; inspect face-on and tilted. Approve this setup with the sample before production.
- Appearance: No visible cross-grain repairs, heat tint, compound residue, isolated coarse scratches, or local depressions under that setup. Agree limit samples for allowable marks.
- Function: Drawing dimensions apply after finishing unless stated otherwise. Protect threads and sealing faces. If Ra matters, specify its limit, measurement direction, filtering/cutoff, evaluation length, and measurement locations separately.
What Polishing Methods Can You Use?
Hand and machine polishing both use mechanical abrasion. Chemical and electrochemical treatments remove material through different mechanisms and cannot simply replace them.
| Method | Choose It For | Main Limitation |
| Hand polishing | Small repairs and areas needing local control | Slow; difficult to keep large areas uniform |
| Machine polishing | Accessible faces needing defect removal or controlled appearance | Tool access, heat, and material removal |
| Electropolishing | Microscopic smoothing and cleanability | Deep defects may need mechanical preparation |
| Chemical polishing | Suitable parts requiring chemical brightening without external current | Alloy compatibility and bath control |
You can polish stainless steel by hand with abrasive sheets, pads, and compounds, but achieving a mirror finish can take considerable time. Mechanical polishing with powered belts and wheels improves productivity on accessible surfaces. Electropolishing uses an electrolyte and current; chemical polishing relies on the solution’s reaction. Confirm specialist routes with your finishing supplier before specifying them.
Benefits and Limitations
Polishing improves appearance, removes shallow defects, and can make residue easier to clean away. However, a mirror finish may display fingerprints more clearly than a less reflective surface.
Your costs increase with difficult starting marks, restricted access, and demanding inspection requirements. Deep grooves and corners may need alternative tooling or agreed appearance limits. Because polishing removes material, unnecessary work can round edges or create depressions. Specify cosmetic treatment only where needed, and distinguish those surfaces from functional mating or sealing faces.
Common Stainless Steel Polishing Defects
Inspect a clean surface before diagnosing damage. The heat, chatter, and smearing checks below draw on 3M repair guidance; other rows summarize the process controls above. Causes are possibilities, not definitive diagnoses. [1]
| Defect | Possible Cause | Corrective Check |
| Coarse lines beneath shine | Earlier scratches remain | Return to an effective abrasive stage |
| Chatter or repeated bands | Pressure, speed, or unstable contact | Check setup; trial lower speed or pressure within product limits |
| Heat tint or distortion | Excess friction, dwell, or worn abrasive | Stop; assess geometry and revise operating conditions |
| Smearing or streaks | Contaminated abrasive or unsuitable speed | Clean; replace contaminated product; review speed |
| Patchy grain or gloss | Inconsistent coverage or final passes | Blend to a natural boundary and match the sample |
| Rounded edges or low spots | Excess local removal | Measure first; stop if dimensions fail |
Process corrections prevent further damage. They cannot restore missing thickness or rebuild a rounded edge.
How to Repolish Stainless Steel
Clean first to distinguish deposits from actual scratches. If the surface still needs correction, match its original finish rather than restarting the entire sequence automatically.
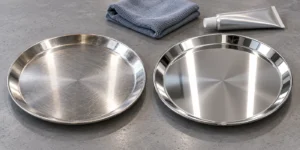
For brushed surfaces, work along the existing grain with a tested abrasive. If a local repair stands out, extend blending to an edge or other natural boundary.
For mirror surfaces, trial a fine compound on light haze. Scratches may need fine abrasive preparation followed by buffing. Avoid creating a local depression while chasing deeper damage.
For coated or anti-fingerprint surfaces, check the treatment specification before using abrasives. Removing a coating can leave permanent color or gloss differences; follow its supplier’s repair guidance. Damaged coatings may require professional refinishing or recoating instead of conventional polishing. This applies even when the underlying metal itself is stainless steel.
FAQs
How Often Should You Polish Stainless Steel?
There is no universal schedule. Clean regularly and use corrective polishing when wear or damage requires it. Repeated abrasive treatment removes metal, so avoid unnecessary polishing of otherwise acceptable surfaces.
Can You Polish Stainless Steel After Assembly?
Yes, where surfaces remain accessible, but joints can trap residue and adjacent components may obstruct tools. Plan finishing before assembly and identify any final touch-ups, cleaning requirements, and protected areas in advance.
Conclusion
Choose your polishing route according to the starting surface, target appearance, and dimensional allowance. Specify treatment areas and acceptance requirements before work begins. For your CNC machining project with YD Rapid, provide drawings, material, quantity, and finish expectations so machining and finishing needs can be evaluated together.
Technical References
[1] 3M — Abrasives and Power Tools for Stainless Steel Finishing, 2019 brochure. Grain setting and repair troubleshooting.
[2] Norton Abrasives — Finishing Stainless Steel, Michael Radaelli, 18 May 2020. No. 4 and No. 7 examples.
[3] Euro Inox — The Mechanical Finishing of Decorative Stainless Steel Surfaces, Volume 6, 2005, section 2. Comparative samples and finish specification.