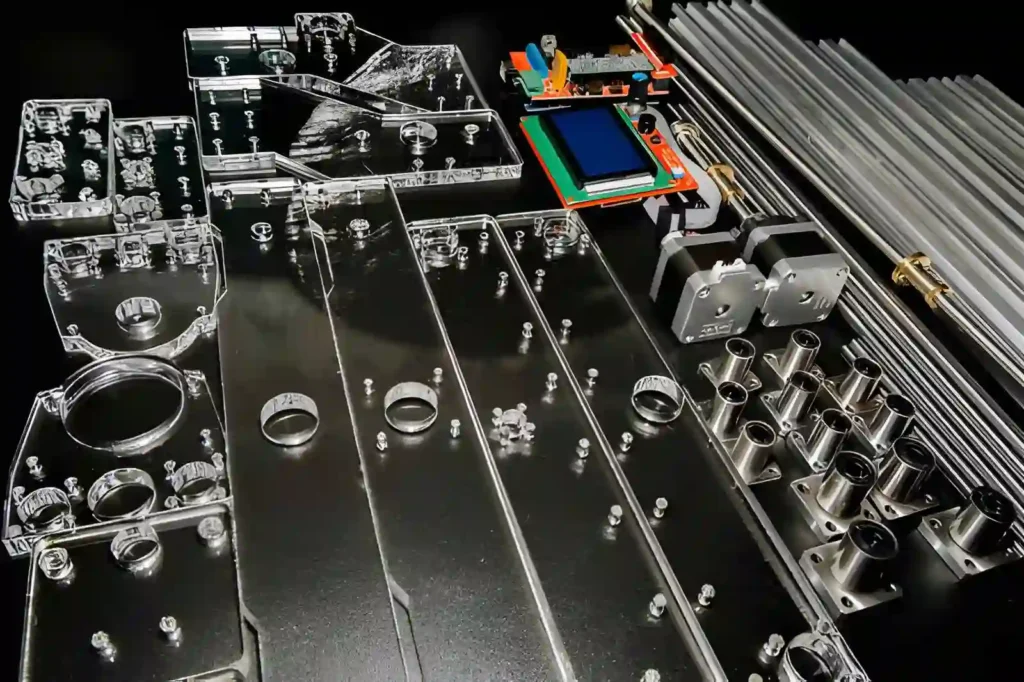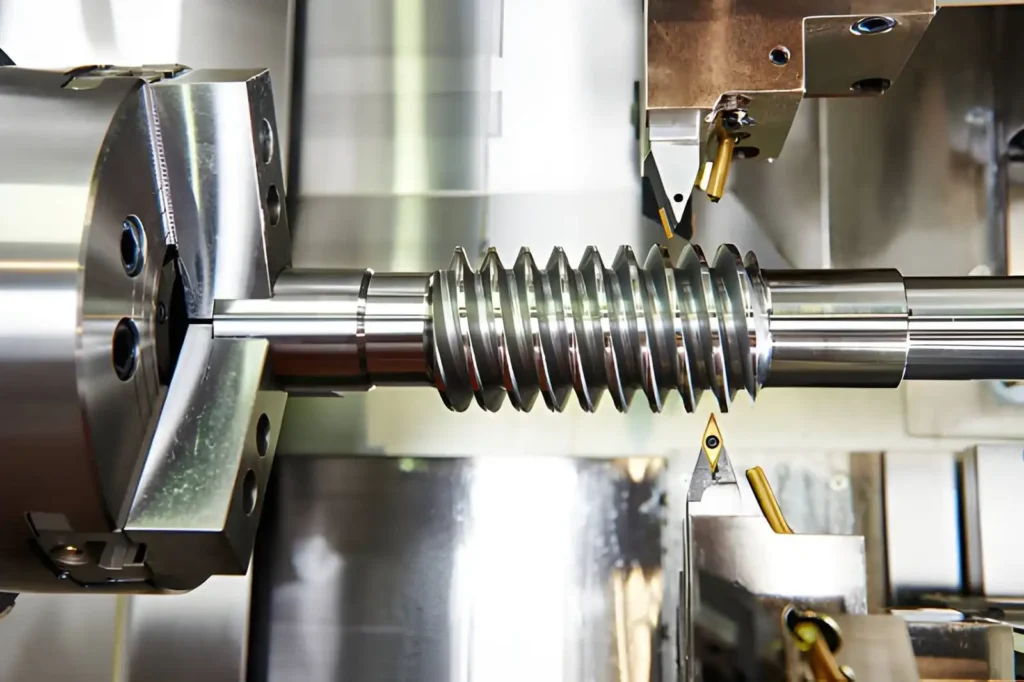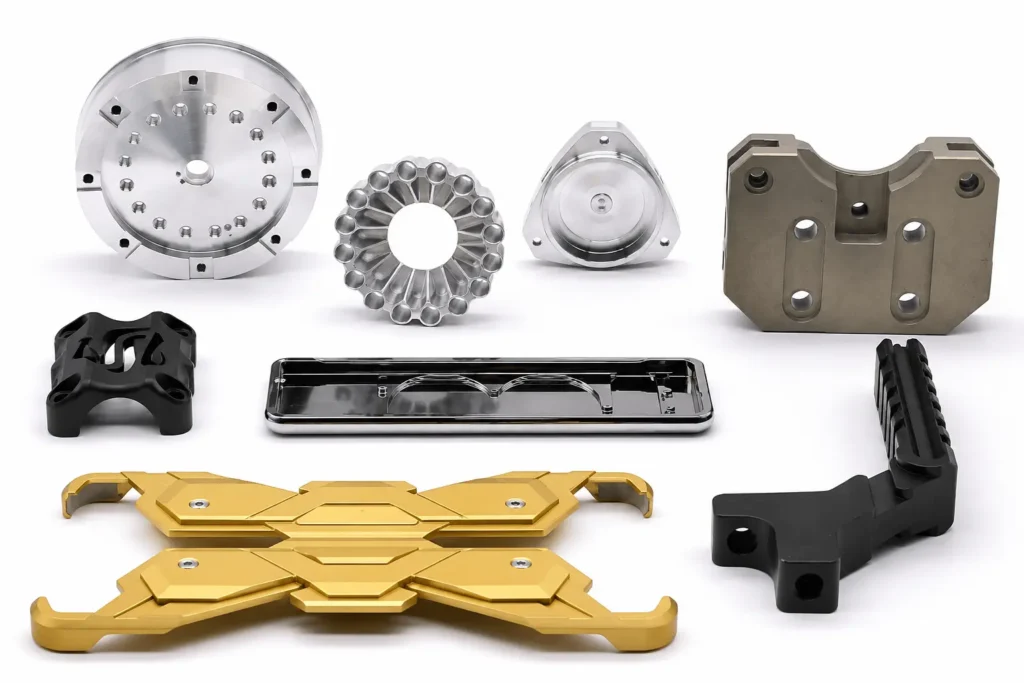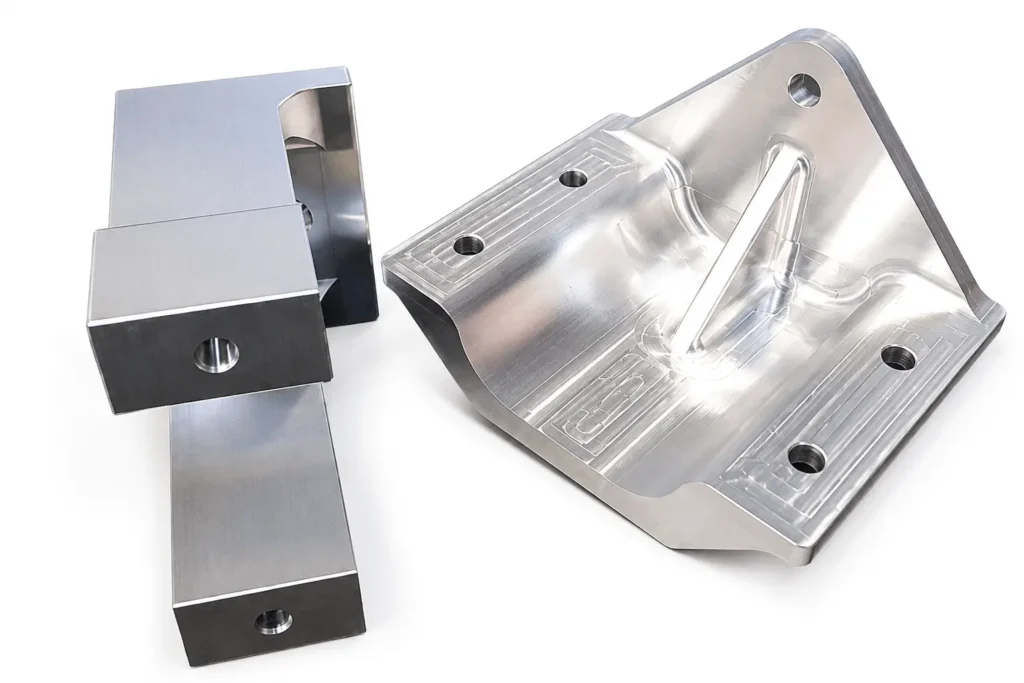
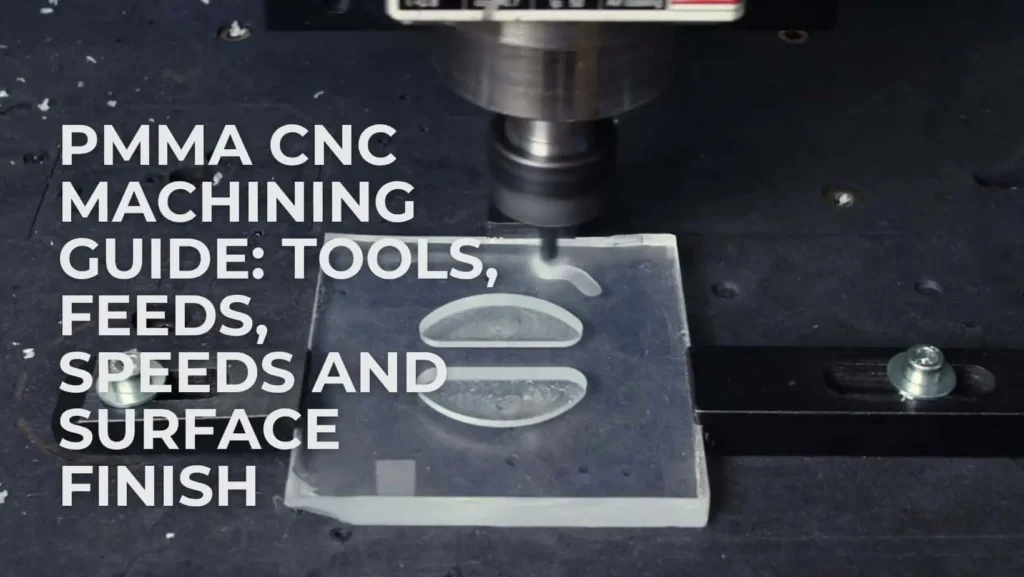
PMMA is a popular clear plastic, also known as polymethyl methacrylate. It is sometimes referred to as acrylic, which is firm, strong, and tenacious. This is ideal for a number of projects. The plastic can melt, crack, or chip if the settings are not used correctly. The first step towards the proper choice of PMMA surface finish is the tools. This guide will teach you how to safely cut PMMA.
Key Takeaways
- Understand the advantages of PMMA CNC Machining for clear parts.
- Find out how to choose the Best end mill for PMMA.
- Learn how to specify the proper PMMA feed rate and PMMA spindle speed.
- Discover how to cut plastic without melting or cracking it.
- Choose the optimal surface finish for PMMA polishing and upgrading.
- Discover practical tips and guidelines for PMMA Machining in the shop.
What is PMMA CNC Machining and why is it widely used?
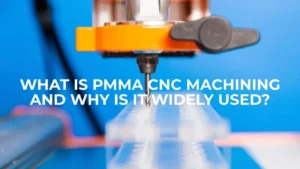
PMMA is a man-made polymer. Very clear, strong, and weatherproof. Looks like glass, but is much lighter. It also has higher strength than glass. With PMMA CNC Machining, you shape this plastic using a computer-controlled router or mill. It is a thermally sensitive, stable material. A dull tool can cause the material to soften and deform rapidly due to friction.
Common industrial applications
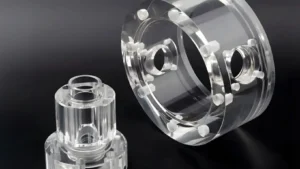
Many industries choose this plastic for their products. You can find it in car light covers, signboards, and display cases. It is also used in medical devices because it is safe and clear. Optical lenses and airplane windows use PMMA too. Because it looks great, engineers use it for prototypes. These PMMA machining tips help workers make these parts without mistakes.
Advantages over other plastics
PMMA is clearer than polycarbonate and cheaper than glass. It does not turn yellow easily in the sun. It holds its shape well under stress. When compared to other clear plastics, it chips less if you cut it correctly. Using PMMA CNC Machining allows for tight tolerances. This means your parts will fit together perfectly every time.
How to choose the Best end mill for PMMA?
Using an air blast or mist coolant keeps the cutting zone safe. After machining, post-processing methods like sanding, buffing, or flame polishing will elevate your PMMA surface finish to optical clarity.
Single-flute tools
A flute is the groove on a cutting tool. For plastics, fewer flutes are better. A single-flute tool has one big groove. This gives chips a lot of room to escape. When chips leave fast, they carry heat away. This makes a single-flute tool the Best end mill for PMMA. It keeps the cutting zone cool.
O-flute cutters
An O-flute cutter has a round, curved groove. This shape is perfect for soft materials like acrylic. It curls the plastic chips up and throws them out of the slot. This prevents the chips from wrapping around the tool. If chips stick to the tool, they rub against the part. That rubbing creates friction, which melts the plastic.
Tool materials and coatings
Uncoated carbide tools are perfect for PMMA. Carbide stays sharp for a very long time. You want the cutting edge to be as sharp as a razor. Do not use tools coated for steel, like AlTiN. These coatings make the cutting edge slightly duller. A dull edge pushes the plastic instead of cutting it, which leads to cracks.
Tool geometry considerations
Look for tools with a high helix angle. This upward spiral pulls chips out of the hole quickly. Up-cut tools are usually the best choice. They lift the waste plastic up and out. Down-cut tools push chips downward, which can trap heat inside the cut.
- Select solid carbide tools for maximum stiffness.
- Use a single-flute O-flute tool for most jobs.
- Ensure the tool is brand new or only used on plastic.
- Avoid tools with more than two flutes.
- Pick up-cut geometry to clear out waste material.
How do PMMA feed rate, PMMA spindle speed, and PMMA cutting speed affect machining?
Feeds and speeds control how fast your machine moves. They are critical for managing heat. Plastic cannot handle high heat. If the tool moves too slowly, it rubs and melts the plastic. If it moves too fast, it forces the tool through the plastic, causing it to crack. Balancing these settings gives you a great PMMA surface finish.
Feed rate selection
The PMMA feed rate is how fast the machine moves sideways through the plastic. People often ask: What is the feed rate of a CNC tool? It is the distance the tool travels in one minute, usually measured in inches per minute or millimeters per minute. For PMMA, you need a fast feed rate. A fast movement ensures the tool takes a clean bite and moves away before heat can build up.
Spindle speed selection
The PMMA spindle speed is how fast the cutting tool spins. It is measured in revolutions per minute, or RPM. If your RPM is too high, the tool will rub against the material too many times in one spot. This causes friction. You must match your spindle speed to your feed rate to keep the tool cutting instead of rubbing.
Cutting speed considerations
The PMMA cutting speed is the actual speed at the outer edge of the tool. It depends on both the tool diameter and the spindle speed. Large tools have a higher cutting speed at the same RPM than small tools. If you wonder what speed I should cut PMMA at? The answer depends on your machine, but you generally want a moderate cutting speed with a high feed rate.
Balancing feeds and speeds
To get the best results, you must balance your parameters. Machinists often ask, “What are the feed and speed for acrylic CNC?” You want a large chip load. The chip load is the thickness of the plastic flake cut by one turn of the tool. Large flakes carry heat away from the part. If your chips look like fine powder, your spindle is spinning too fast, or your feed rate is too slow.
Here is a table showing the standard Acrylic CNC cutting parameters for common operations.
Table 1: Typical Acrylic CNC Cutting Parameters
| Operation | Tool Diameter | Spindle Speed | Feed Rate | Depth of Cut |
|---|---|---|---|---|
| Roughing Cut | 0.250 inch | 18,000 RPM | 100 IPM | 0.125 inch |
| Finishing Cut | 0.250 inch | 16,000 RPM | 60 IPM | 0.020 inch |
| Slotting | 0.125 inch | 12,000 RPM | 50 IPM | 0.060 inch |
| Drilling | 0.125 inch | 4,000 RPM | 20 IPM | N/A |
How to CNC machine acrylic without defects?
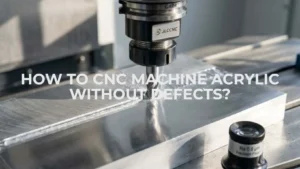
Producing clear, accurate acrylic parts requires sharp tools, stable workholding, controlled cutting temperatures, and effective chip removal. During acrylic CNC machining, excessive heat or tool pressure can cause melting, cracking, cloudy edges, and poor dimensional accuracy.
Always respect the material properties of acrylic and use sharp tools. By following these simple steps and settings, you can produce beautiful, clear, and precise PMMA parts for any application.
Machine setup
A successful job requires a rigid machine. If your CNC router vibrates, it will leave marks on the plastic. These marks ruin the PMMA surface finish. Ensure your machine tracks are clean and your linear guides are tight.
Workholding methods
You must hold the plastic firmly. If the sheet lifts or vibrates, it will crack. Vacuum tables are the best choice for thin sheets. They hold the entire surface flat. If you use clamps, place them close to the cutting path. Double-sided tape or masking tape with super glue also works well for small parts.
Cutting strategy
How to CNC machine acrylic? Use conventional milling instead of climb milling for roughing. Conventional milling pushes the chips behind the tool, which helps prevent them from re-cutting. For the final pass, a light climb milling cut can leave a smoother edge.
Chip evacuation
Chips need to be removed instantly. If it is a tool that passes over a chip already cut, it will melt the chip. This leaves a dirty weld job for you. When it comes to the question of how to machine PMMA without melting? It is all about chip removal. Blow off chips from the tool path using a strong air blast.
Common machining mistakes
- Using a dull tool that rubs the plastic.
- Spindle speed that is greater than the feed rate.
- Allowing chips to collect in deep slots.
- Clamping too loosely, thus vibrating the material.
- Roughing the wood back too much in one cut.
Why are PMMA machining coolant recommendations important?
Plastic machining is only the enemy of heat. Proper PMMA machining coolant recommendations are to ensure cooling of the cutting area and the removal of chips. The plastic will gum up the tool without proper cooling.
Air cooling
A compressed air blast is the most popular cooling method. Cools the tool and blows away chips simultaneously. It helps maintain a clean and dry work area. Most CNC routers can be adequately cooled by blowing a constant flow of cold air.
Mist coolant
The liquid coolant and air are used in mist cooling. Water-based coolants are most effective. Coolants containing solvents should be avoided since they will crack the plastic at a later stage.
Dry machining
When there is no air or liquid during cutting, it is called dry machining. Dry cutting results in a higher potential for melt. When cutting dry, reduce spindle speed or feed to ensure the tool is moving.
Heat management
Heat control means tool control and part control. PMMA expands when heated. This may alter the dimensions of the final product. After the part has cooled, it shrinks and could be too small. Accurate dimensions are ensured with good cooling.
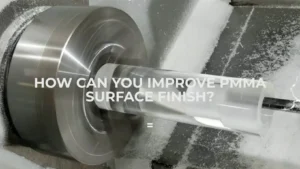
How can you improve the PMMA surface finish?
Machining comes first, but is not the only step. Post-processing is necessary to ensure that the part will look like glass. Each method has its strengths and weaknesses in terms of clarity and speed.
Surface quality during machining
The quality of your surface depends on your cutting parameters. People often ask: What is the standard surface finish for CNC? For metals, it is a smooth, matte look. For PMMA, the goal is often absolute transparency. You can get a smooth, translucent finish straight off the machine if your settings are perfect.
Tool condition
A sharp tool is essential for a great PMMA surface finish. Even minor wear on the cutting edge will leave frosty lines on the plastic. Dedicate specific tools for plastic work and never use them on aluminum or wood.
Feed and speed effects
A slow final feed rate with a sharp tool creates a smoother surface. The tool slices off tiny imperfections from the roughing pass. Keep the spindle speed moderate during this step so you do not generate excess heat.
Table 2: Surface Finishing Methods for PMMA
| Method | Finish Quality | Best Use | Advantages |
|---|---|---|---|
| Hand Sanding | Smooth Matte | Flat surfaces, outer edges | Highly accurate, fixes deep scratches |
| Buffing Wheel | High Gloss | Curved parts, custom shapes | Very clear, low risk of melting |
| Flame Polishing | Mirror Clear | Straight edges on sheets | Fast, leaves no scratch marks |
| Vapor Polishing | Optical Clarity | Complex internal chambers | Reaches areas hands cannot touch |
Conclusion
Mastering PMMA CNC Machining requires a careful balance of settings. You must pick the proper tools, like a single-flute carbide end mill. This helps clear away chips. You also need to manage your PMMA feed rate and PMMA spindle speed to avoid generating too much heat. High heat melts the plastic and ruins your project.

Need Custom PMMA Parts Made to Your Drawings?
PMMA machining requires careful control of tool geometry, cutting heat, chip evacuation, clamping pressure, and surface finish. Send us your drawings, material grade, tolerance requirements, finish specifications, and order quantity for review. YD Rapid manufactures custom acrylic parts for prototypes and low-volume production.
Frequently Asked Questions
Can you CNC machine PMMA?
Yes, you can cut this clear plastic on a machine. It is a great choice for making strong, clear parts. You must use sharp tools so the plastic does not crack or split.
What are PMMA machining coolant recommendations?
Use a strong blast of cold air while you cut. This blows the hot plastic chips away. You can also use a light water mist to keep the sharp tool from melting the part.
How to polish CNC machined PMMA?
First, sand the plastic with wet sandpaper from rough to smooth. Then, rub the edges with a cloth wheel and polishing paste. This removes scratches and makes the part look like clear glass.
What are the most effective PMMA machining best practices?
Always cut with a sharp, single-flute tool. Clamp your plastic sheet down tight so it does not shake. Keep your feed speed fast and your spindle speed low to prevent the material from melting.